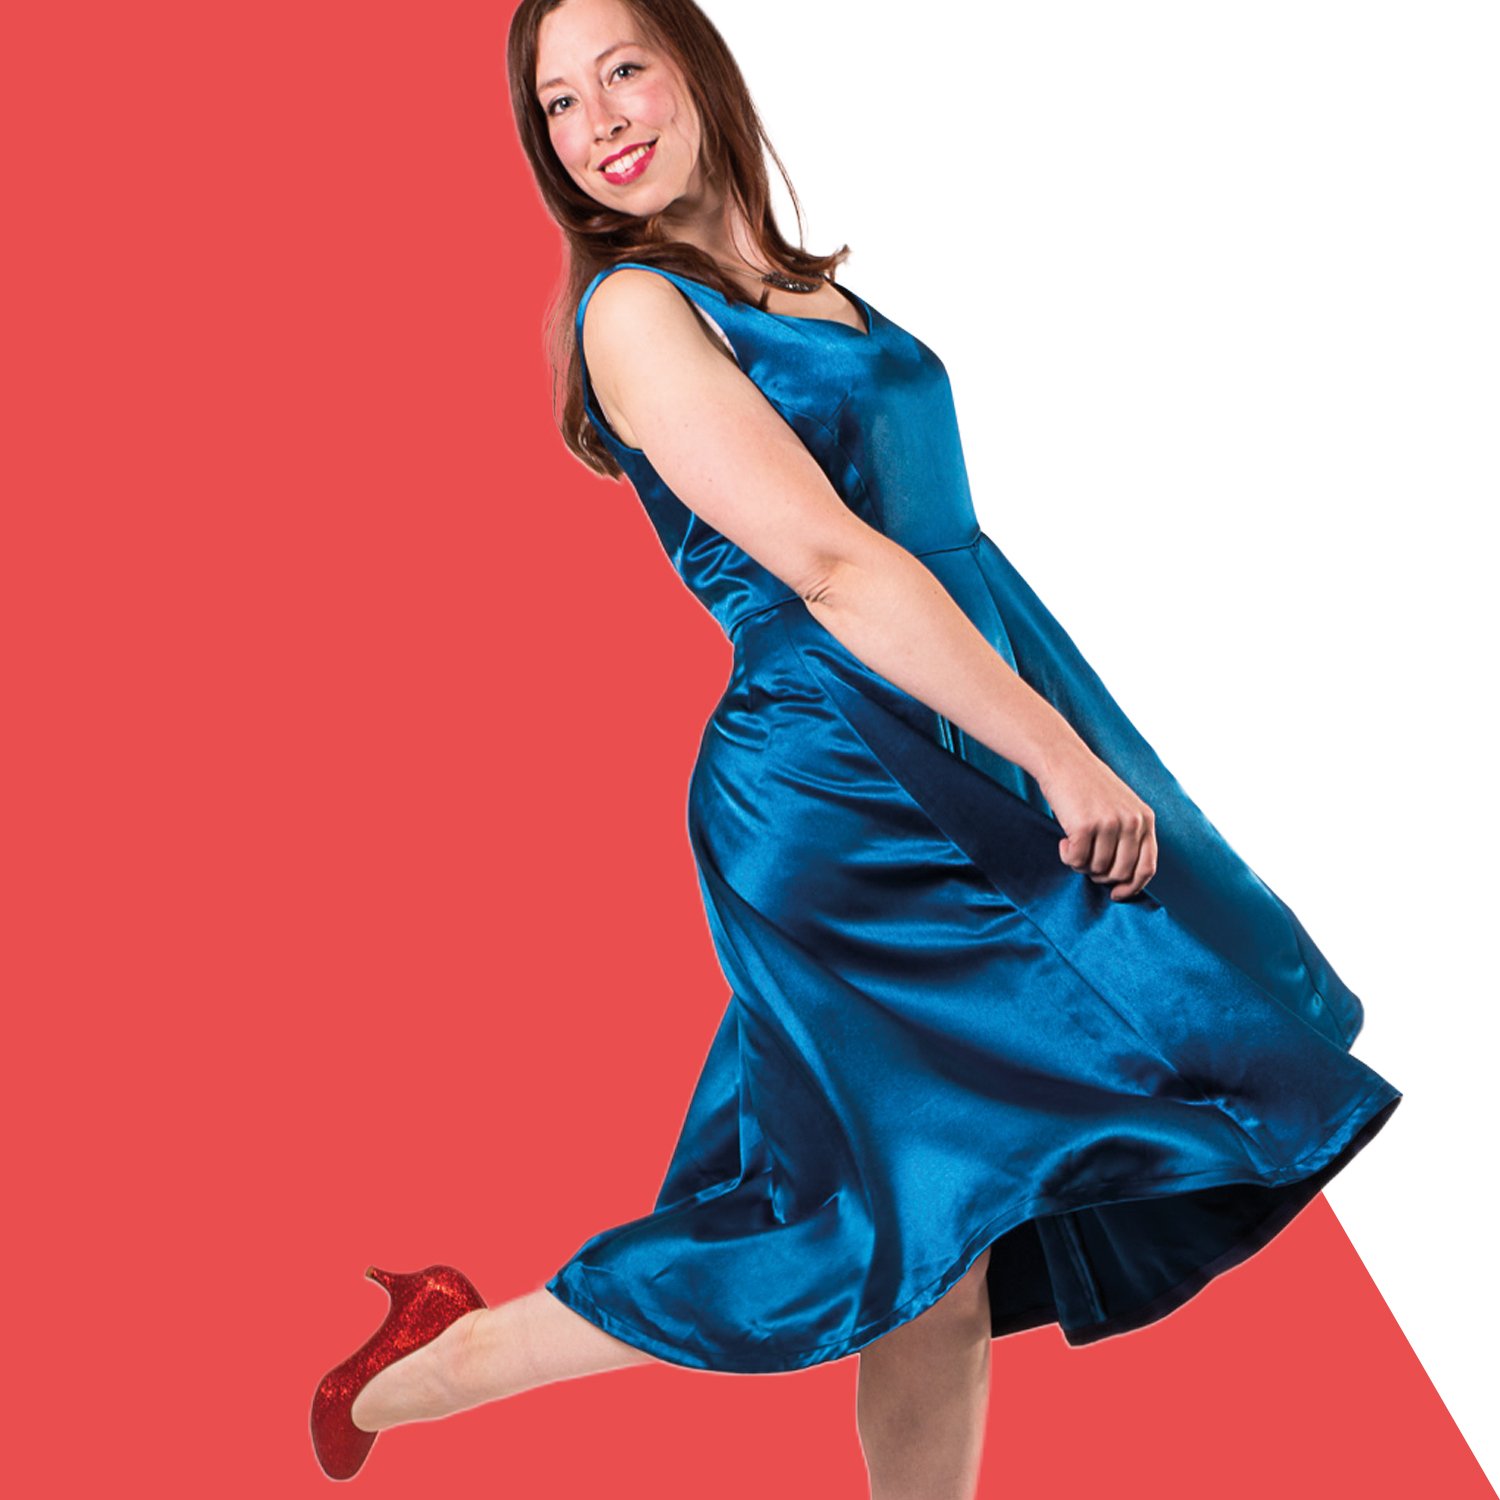
Pattern Review… Janene’s Ready to Party Dress
Janene @Ooobop kindly agreed to write a review of her make after testing our Ready to Party Dress pattern. Janene received this pattern to make and review with no obligation. The opinions shared are all her own.
“ I first met at the fabulous My Handmade Wardrobe team at the Dressmakers' Ball in 2019. I’ve since been to their Crafty Sewing Camp and can verify that they throw a damn fine party! And so it seemed quite fitting that I chose to sew the Ready to Party Dress for my first experience with a My Handmade Wardrobe sewing pattern.
However, true to form and with no imminent fancy parties on the horizon I decided to make it up as an every day-dress instead.
To make it more every-day, this dress was going to have to be substantially shortened for me. Before I go into more detail as to how I did this, I just want to add how interesting this skirt pattern is. It is made up of eight flared panels with a double set of darts on the side front and side back panels and the volume starts after the fitted section at the waist to create such a superb silhouette.
Each panel piece of the sewing pattern has a lengthen/shorten line which is super helpful as I really didn’t want to forego the amazing flare in the design. To be honest I wasn’t totally convinced I could remove a whole 9 inches without some sort of issue but hey, nothing ventured, nothing gained! As you can see there is quite a bit of a step when I folded up the excess. I sat and pondered a while and then convinced myself I just had to average out the difference to create the new pieces. So that’s exactly what I did. I traced the new piece and added the new side lines by drawing from the hem points to just below the waist shaping. And it worked!
I took my time sewing the panels, being sure not to stretch out the bias seams of which there are many, and I’m sure the results were helped greatly by using this wonderfully soft and forgiving chambray fabric. It drapes so beautifully and seals the deal with my ‘every-day’ mission.
Because of potential bias behaviour, I did tack the sewn up skirt panels to my toile of the bodice while I sewed up the actual bodice. I felt it needed to hang a bit before hemming in case the hemline dropped unevenly and that proved to be a good idea.
I cut a size 4 for the skirt and graduated down to a 3.5 for the bodice but next time I might just slither a bit more off to go from 3.5 to 3 as it is a bit roomier in the waist than I anticipated. That’s the beauty of having all the size lines to trace off!
I was torn between choosing the sweetheart neckline and the round neckline of the bodice. And I was almost sold on sweetheart when I realized I could layer the round neckline version more readily with a t-shirt or turtleneck jumper underneath for a change of style and if it got chilly!
I love that its lined. In fact I love lining and the understitching process because it really does give a nice, neat finish.
Oh and I almost forgot to mention that it has pockets – lovely sized in-seam ones that get disguised in the drapes so you can stick anything you like in them with little chance of distorting the shape of the skirt!
I loved making this dress, it was a real pleasure to sew. And I love wearing it – its comfortable, versatile, flirty and feels good. And I can totally recommend this pattern and fabric combo. Because every day should be a party, right?!
Want to be Ready to Party Everyday?
Get ready to be ready, whatever the occasion!


